Grouping
This option will will cover grouping two or more selected objects into one unique object.
It is possible to group with:
. Two or more objects.
. Two or more groups.
. Objects and groups.
Once created, a group will became a new object, with its own properties and scripts, but it will keep the properties of every object or group inside if they have their own properties.
To create a new Grouped object in the Graphics Document:
1. Select the objects that will be grouped.
2. Click the "Grouping" button in the Ribbon.

Example: Changing properties of objects belonging to a group.
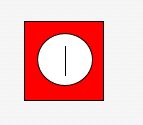
1. Create a rectangle, a circle and a line.
2. Select all of them. You will see the Grouping button becoming enabled.
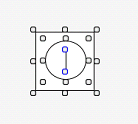
3. Click on the Grouping
button  within the Grouping Ribbon to make a new group object with
them called "Group1".
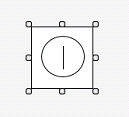
4. Select the new object "Group1" and open its Configuration Properties within its Properties Window.
5. Verify that the property "Locked" is False. If not, uncheck it.
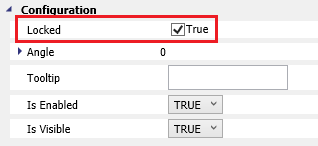
6. Once unlocked, open the Script Dock by double-clicking on the object.
7. Open the Graphic Items ComboBox, and open the tree of the object:
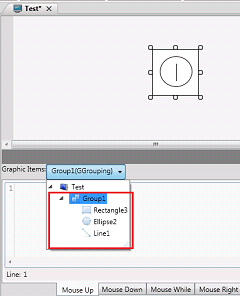
8. From there, you can select the object you want and change its properties from the Properties Window. For example, changing its color.
Properties:
Info
. Name
. Location
. Size
. ZIndex
Configuration
. Angle
. Locked
. HotKey
. IsEnabled
. IsVisible
. Tooltip
Scripts
. MouseDoubleClick
. MouseDown
. MouseRightUp
. MouseRightDown
. MouseUp
. MouseWhile
Brushes
. Background
Security
. Can Do Action
Functions
. .Location
. .Size