Web Document
The Web Document describes the steps to configure the Web for a SmartView application. In this file we will look at each process below.
. Installing the web server IIS (Internet Information Service).
. Configuring the web server IIS (Internet Information Service).
. Configuring your application to work on the web.
OBS: If you are using the Microsoft® Internet Explorer browser, the browser needs to be version 10 or higher to work correctly. Please check if your web browser runs JavaScripting.
. 1. Open the Control Panel and click on "Programs":

. 2. Click on "Turn Windows features on or off":

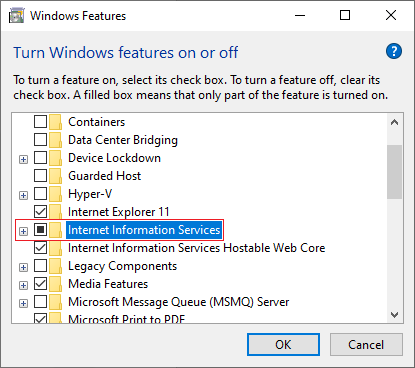
. 3. Enable the option "Internet Information Services" and click on OK. After that, the IIS will be installed on your system:
. 4. After the installation, go to the directory "C:\inetpub\wwwroot\" and create a folder to save your SmartView WEB project:

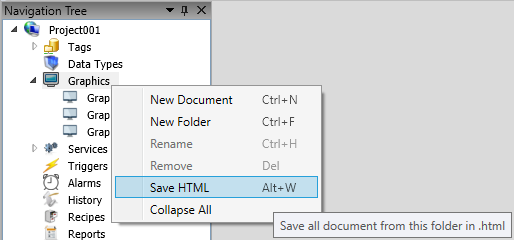
. 5. Open the SmartView, right-click on the Graphic editor and click on "Save HTML":
. 6. A progress bar will appear at the bottom of the SmartView to show the conversion:

. 7. After the conversion, a log ".html File saved successfully!!!" will be displayed on the OutputWindow stating that the pages were successfully generated. After that, a folder "WEB" will be created in your project's directory. Copy and paste this folder on the folder that you created in the C:\inetpub\wwwroot:

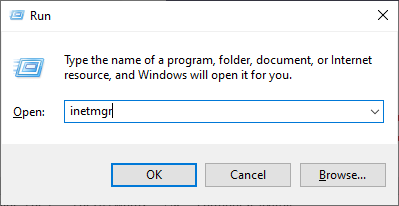
. 8. Press Windows+R and enter "inetmgr" and press OK to open the IIS:
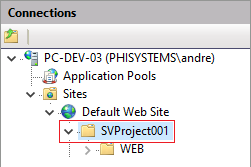
. 9. On the IIS, select the folder that you created:
. 10. Select "Directory Browsing" and click on "Open Feature":

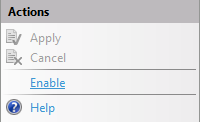
. 11. Enable the feature:
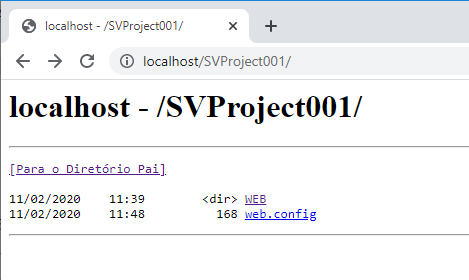
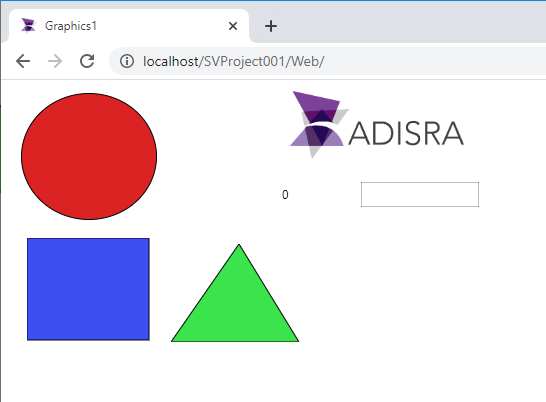
. 12. Back to the main page, select the "Browse *:80 (http)" option and navigate to the .html that you want to see:
|
|
|
Note: It is possible to change the Default Web Folder. |