Width
This property gets or sets the Width of a specific object. It represents in pixels (double type) the distance between the left and the right corners of the selected object.
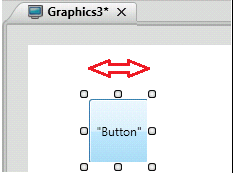
In the image above, the red arrow represents the width of the object or the distance between the left and the right corners of the button. In other words, if the buttonis resized increasing the distance between its left and right, the Width property will increase pixel by pixel accordingly.
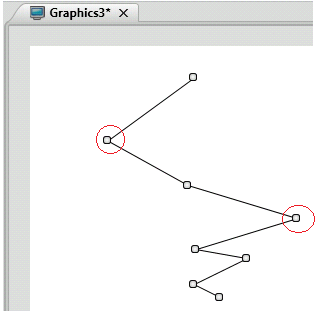
In the next example, the object's Width is defined by its most left and right points.
Properties:
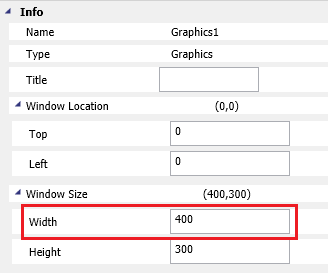
This property shown above in the Properties Window represent its value during the design. It means this will be the value when you start the application, but it can be changed during runtime. You can specify a logic where the Width property will assume another value. Please check below some ways to manipulate the Width value during Runtime.
Example 1: Changing the Width property on a C# Script.
You can access the width property of any
object by invoking objectName.Width as in the example below:
. Create a new Screen (Graphics) and save it (i.e. Graphics4).
. Insert Button1 and in the Text property write "200".
. Insert Button2 and in the Text property write "100".
. Insert Button3 and in the Text property write "50".
. Insert Rectangle1 and don't configure any fill.
.
Insert a Rectangle, please check its name in the Properties Window.
In this example, it is Rectangle2.

. Next step is to configure the "200", "100" and the "50" Buttons. In this example, we want to write logics to resize Rectangle2 as a bargraph inside the rectangle 1.
. So far, the Graphic's should look like the image below:
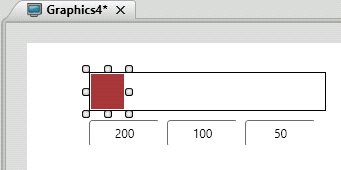
. Now select the "200" Button and in the "Mouse Down" event, write the following code:
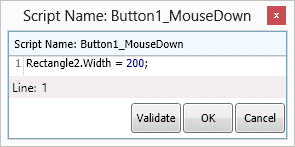
. Configure the "100" Button like the following code:
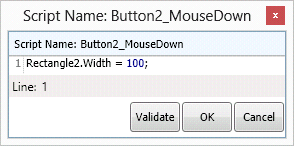
. Configure the "50" Button like the following code:
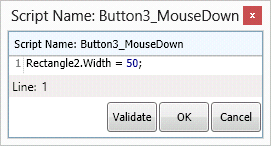
. Run the Application (F5) and see the results.
. If you click on the "200" Button, the Rectangle named Rectangle2 will resize to Width 200, almost reaching the Rectangle1 behind it.

. If you click on the "100" Button, the Rectangle named Rectangle2 will resize to Width 100.

. If you click on the "50" Button, the Rectangle named Rectangle2 will resize to Width 50.

Example 2: Changing the Width property with a tag.
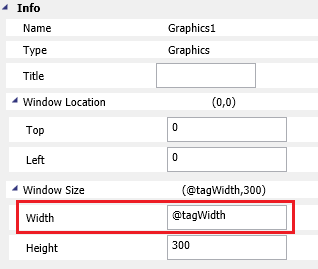
. Create a new Screen (Graphics) and save it (i.e. Graphics4).
. Insert Button1 and in the Text property write "200".
. Insert Button2 and in the Text property write "100".
. Insert Button3 and in the Text property write "50".
. Insert Rectangle1 and don't configure any fill.
.
Insert a Rectangle, please check its name in the Properties Window.
In this example it is Rectangle2.

. Next step is to configure the "200", "100" and the "50" Buttons. In this example, we want to write logics to resize Rectangle2 as a bargraph inside the rectangle 1.
. So far, the Graphics should look like the image below:
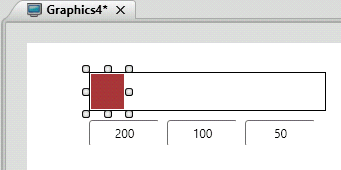
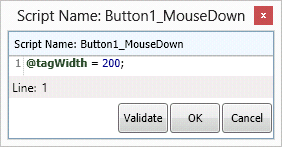
. Now select the "200" Button and in the "Mouse Down" event, write the following code:
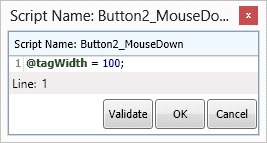
. Configure the "100" Button with the following code:
. Configure the "50" Button with the following code:
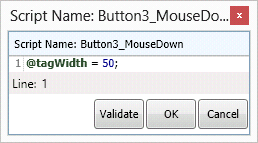
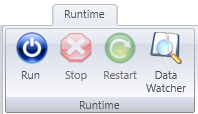
. Run the Application (F5) and see the results.
. If you click on the "200" Button, the Rectangle named Rectangle2 will resize to Width 200, almost reaching the Rectangle1 behind it as it reflects the value of the @tagWidth configured previously.

. If you click on the "100" Button, the Rectangle named Rectangle2 will resize to Width 100.

. If you click on the "50" Button, the Rectangle named Rectangle2 will resize to Width 50.
