Screen
The Screen is an object which allows opening different Graphics within its area, one at a time. This allows the user to switch between different Graphics during Runtime according to the selection of a radio button or according to the click of a button. If a Screen Object is used, the user can open screens inside it, and alternate them.
To create a new Screen Object in the Graphics Document:
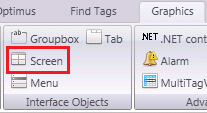
1. Click the "Screen" button within the Interface Objects Ribbon.
2. Place the mouse pointer in the place where you want to create the Screen Object.
3. Click to create the new Screen.
Example 1: Initializing the Screen to open a Graphic.
. Create two Graphics, with the following names: Graphic1 and Graphic2.
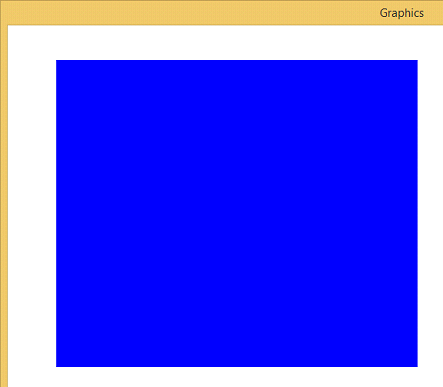
. Change the color of Graphic2 to blue (see Background).
. Insert a Screen in the Graphic1.
. In the Configuration, choose Graphic2 to be the Initial Screen.

. Configure the Startup Graphic to be Graphic1 within the Ribbon "Settings".

.
Save the project (clicking the  , or type CTRL + S),
and run the Application (F5) and see the results.
Example 2: Opening more than one Graphic in one Screen using a Script button.
. Insert three Graphics with the following names: Graphic1, Graphic2 and Graphic3.
. Change the color of the Graphic2 to blue and the Graphic3 to yellow (see Background).
. Insert the Screen Object in Graphic1.
. Insert two buttons in Graphic1 with the names Button1 and Button2.
. Select Button1 and its Properties Window, click the "MouseUp" Event.
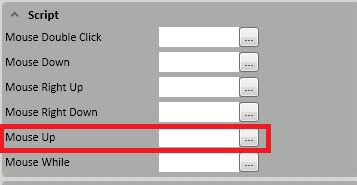
. Insert this code in the Script: Screen1.SetScreen("Graphic2").

. Select Button2 and in its Properties Window, click the "MouseUp" Event.
. Insert this code in the Script: Screen1.SetScreen("Graphic3").
. Configure the Ribbon Settings for the Startup Graphic to be the Graphic1.

.
Save the project (clicking in the  , or type CTRL + S)
and run the Application (F5) and see the results.
Example 3: Opening Graphic in Screen Object passing a tag as Screen Tag.
. Insert a tag with the following name: "tagA" with Type Integer in the Tags Sheet (see Creating New Tag).
. Insert two Graphics, with the following names: Graphic1 and Graphic2.
. Change the color of Graphic2 to blue (see Background).
. Insert the Screen Object in the Graphic1.
. In Graphic2, insert a Screen Tag with the name "var", Type Integer (the same type as the tag you pass).

. Insert a TextBox with the name TextBox1 in Graphic2 and write in the Text Property "#var".

. Insert a TextBox with the name TextBox1 in Graphic1 and write in the Text Property "@tagA".
. Insert a button with the name Button1 in Graphic1, then select the Button1 and in its Properties Window click the "MouseUp" Event.
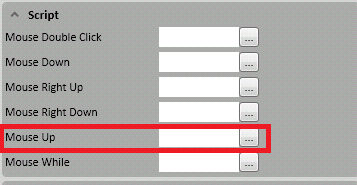
. Insert this code in the Script: Screen1.SetScreen("Graphic2", "@tagA").

. Configure the Ribbon Settings for the Startup Graphic to be the Graphic1.

.
Save the project (clicking in the  , or type CTRL + S)
and run the Application (F5) and see the results.
Property List:
Info
. Name
. Size
. Location
. ZIndex
Configuration
. ToolTip
Functions
. .SetScreen()
Security